How To grow
Arabidopsis
in RoPods
Shown here on the example of RoPod 5


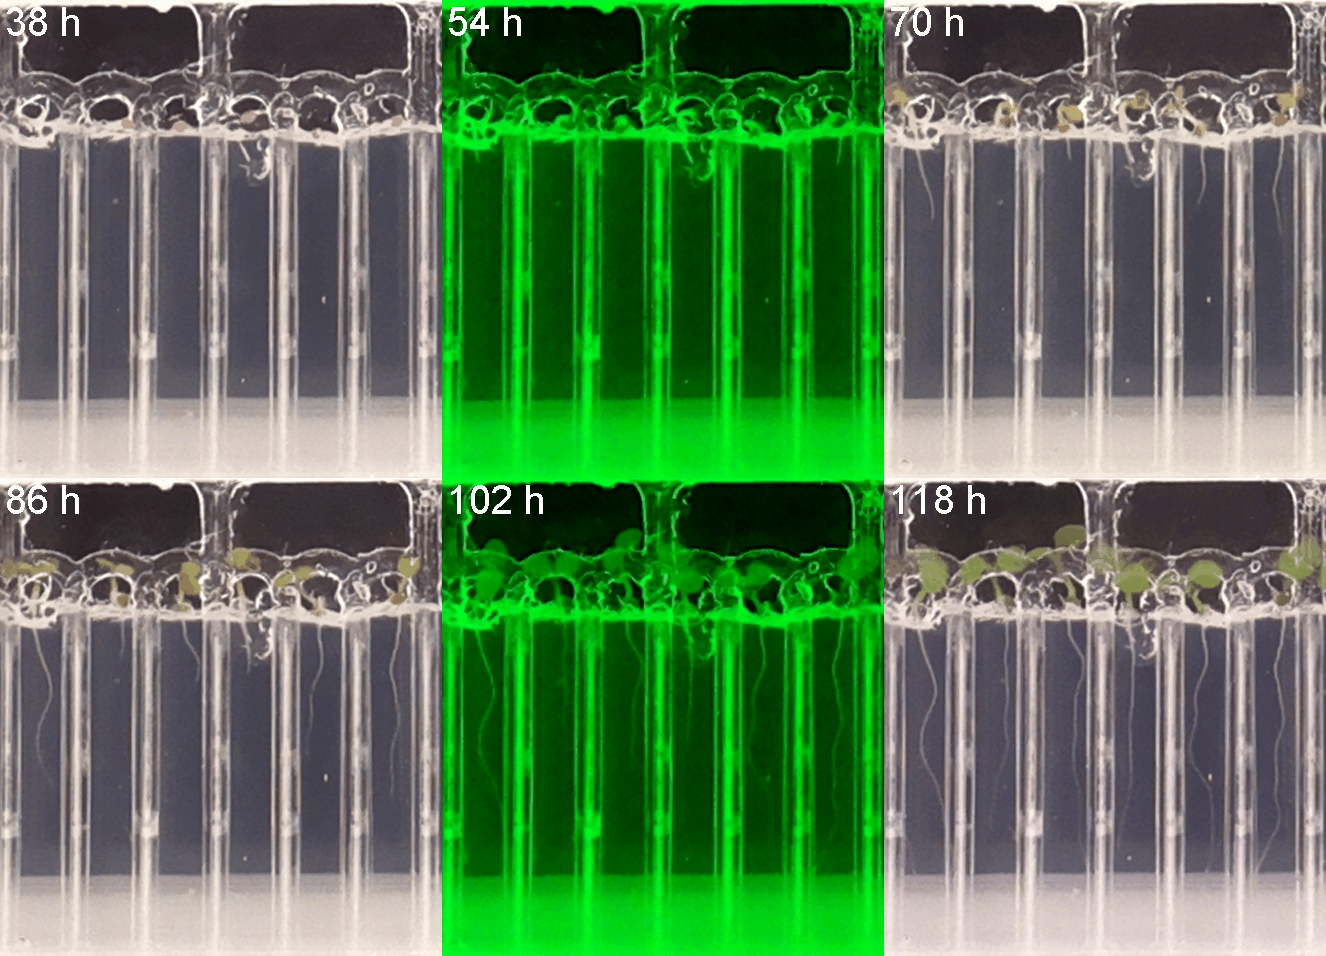
Arabidopsis seeds were germinated in the RoPod 5 chamber and grown for 4 days. Images taken using SPIRO.
RoPod 5 has:
1. A watertight lid that locks by curving out. To unlock the lid, gently push its handle upwards and slide the lid inside its slot
2. Arcs to guide roots into the channels
3. Separators to prevent neighbouring roots from crossing

Step 1.
Sterilize the RoPod under UV in a laminar flow hood. Place the open chamber and the lid (inner side up) under the UV light, 30 minutes of exposure is usually sufficient.

Step 2.
Thaw 0.5x MS in a microwave, let it cool to 60 C and pipette 3mL into the sterile chamber. Make sure the medium is evenly distributed in the chamber and there are no bubbles

Step 3.
Let the medium solidify and then use a tip or toothpick to remove a ca 5 mm wide strip of the medium, this will give space for the areal part of seedlings. For RoPod 5 make sure arcs are exposed.

Step 4.
Transfer seeds using a sterile toothpick onto the bottom glass by the edge of the medium. For RoPod 5 place the seeds “under” the arches, which are designed to guide roots of young seedling into the individual channels

Step 5.
Close the chamber. RoPods with watertight lids do not need to be sealed individually, other RoPods require it. Place the chamber into a square Petri plate and seal it.

Step 6.
Place the plate vertically under growth conditions

Video
In this video you can find a short step-by-step demonstration of how to prep RoPod chambers and grow plants in them.


